-1.png?height=120&name=BLAU__EMBLEMA%20PRINCIPAL%20SENSE%20ESLOGAN%20(1)-1.png)
Learn about the useful properties of the Join Form tab, which you can find in the Properties section. Configure it if you have App or Web in your event.
NOTE 🗒️: If you haven't already, take a look at the main article 👉 What is the properties section?
These properties go hand in hand to what is configured in
The Join Form tab is used to create properties (fields) that we want attendees to fill out before accessing the event (on the App & Web) through the Join Form, when they log in for the first time.
The purpose of this section is to complete the attendee's profile once they have registered for the event, as at this point it may be useful to ask for some data that is not suitable for the Registration Form, such as a photo (useful for networking) or social media profile.
IMPORTANT ❗You need to activate the Join form first in App & Web > Settings > Access.

Example
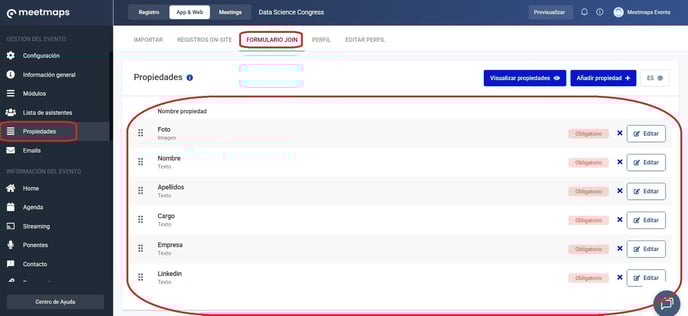
In the App & Web, I want that the first time they log in, that are required to give the following information:
- Photo (not mandatory)
- Name and last name (mandatory) Both properties I already have them (from the registration form) but this way the attendee can check if they are correct (spelling mistakes, etc.)
- Position and company (mandatory): these properties I don't have, and I use the opportunity to ask for them using the join form.
- LinkedIn (not mandatory): This property I don't have, and I use the opportunity to ask for them using the join form.
Configuration
How it is shown
The first time the attendee accesses in:
- App 📱
The attendee had already accepted the T&C as well as the Privacy Policy in the Registration Form.

In this case the attendees were imported with a registered status in the list of attendees.

- Web 💻
The attendee had already accepted the Terms & Conditions as well as the privacy Policy in the registration form.
 In this case, the registered attendees were imported into the list of attendees.
