-1.png?height=120&name=BLAU__EMBLEMA%20PRINCIPAL%20SENSE%20ESLOGAN%20(1)-1.png)
The private channel allows only a selected group of attendees to see and participate in the comment wall. In this article we explain how to create it.
To create a Channel, either public or private, you must go to the Channels section of the side menu. Once there, the next step is to click on the "New channel +" button.
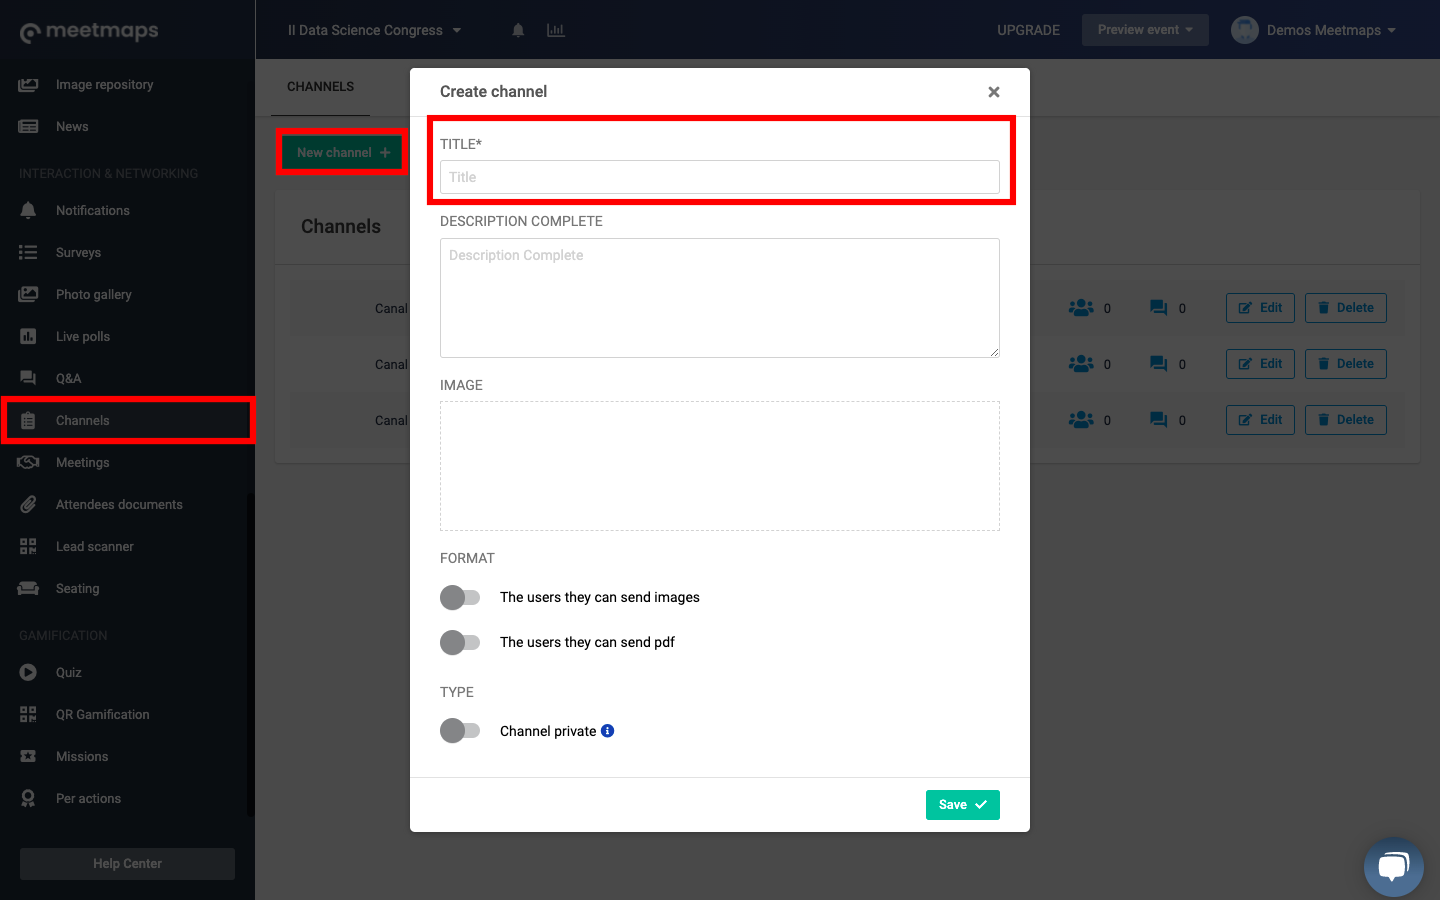
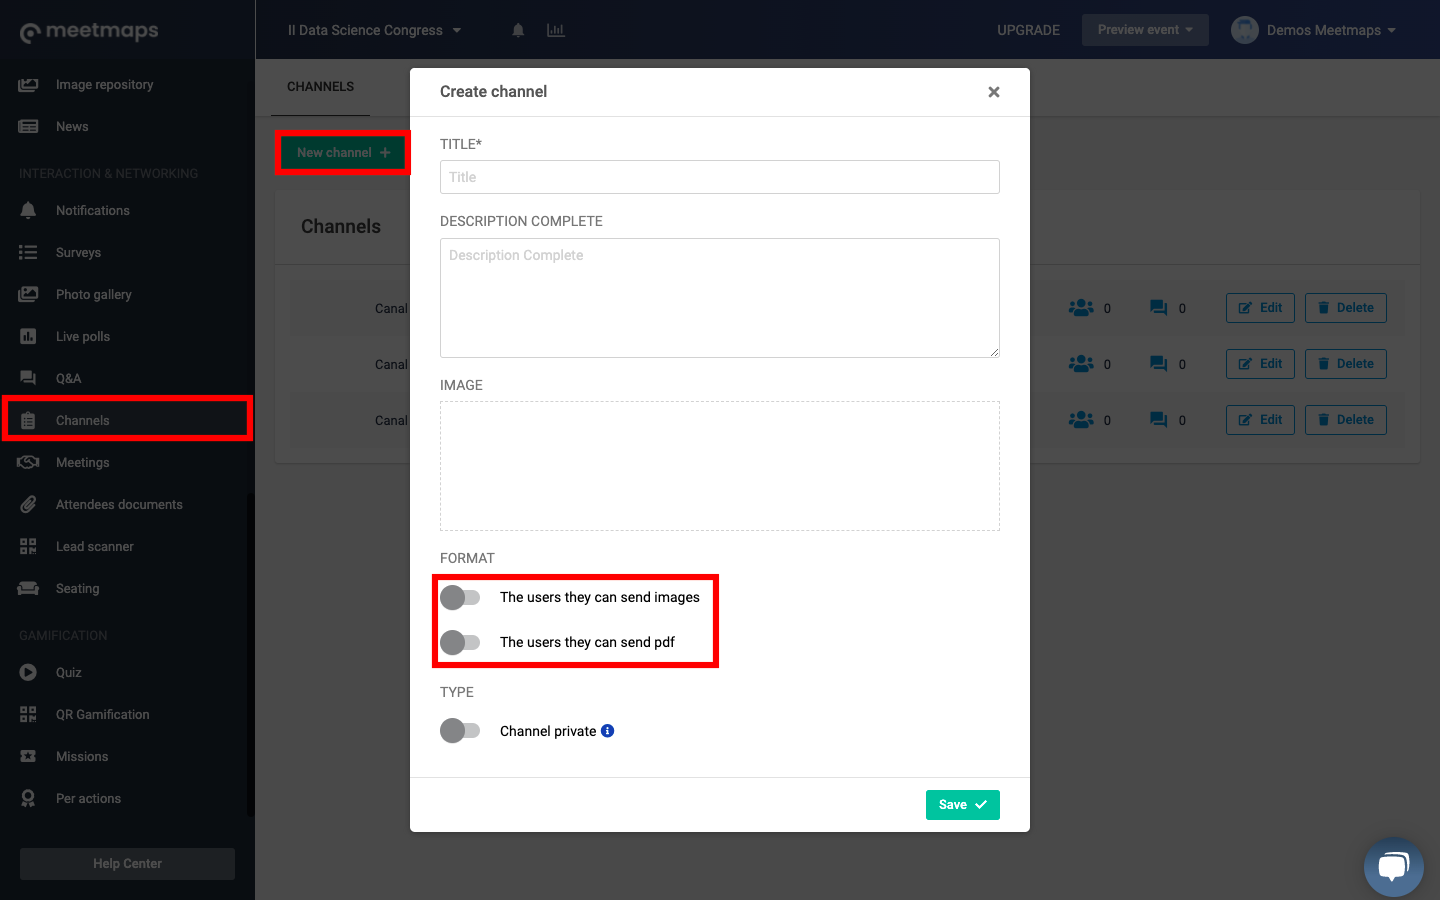
A window will open to complete the information for this new channel. A name is required; additionally, you can add a description and a cover image for the channel and indicate whether you will allow attendees to share pictures and PDF documents or not.
To make the channel private, you must activate the last switch, called Private Channel. By doing so, a drop-down field will appear, where you will be able to select the attendees from the Attendees List to be included in this private channel and that only they will have visible in the event.
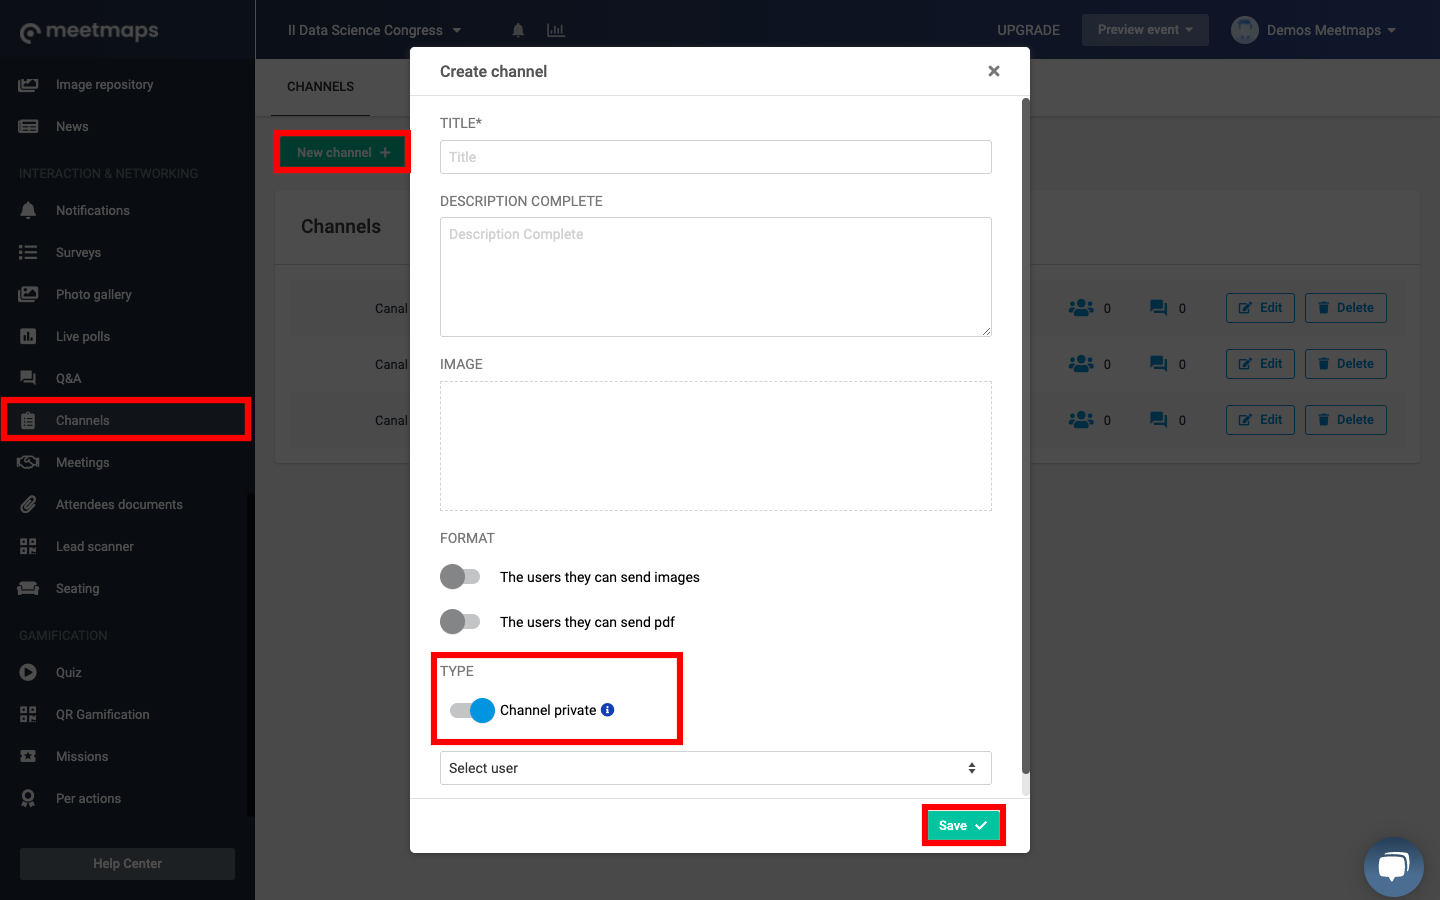
Once you have chosen the members of the new private channel, simply click on the "Save" button.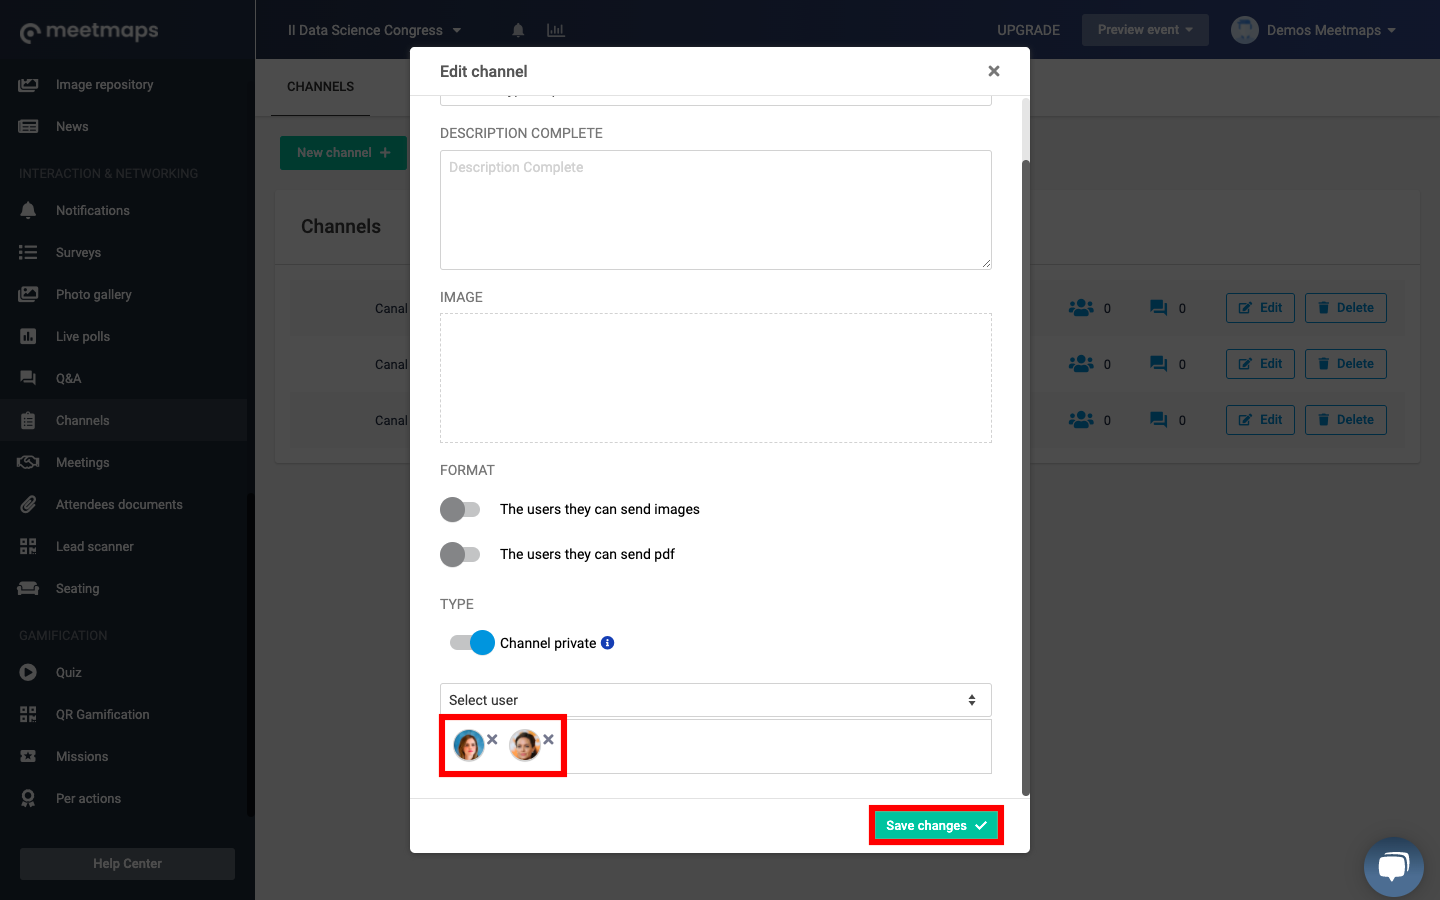
As with public channels, in private channels you will also have the possibility to edit and delete them, and to know how many comments have been made in that channel.

To learn how a private channel is displayed in the virtual event, click here.
To learn how a private channel is displayed in the App, click here.